
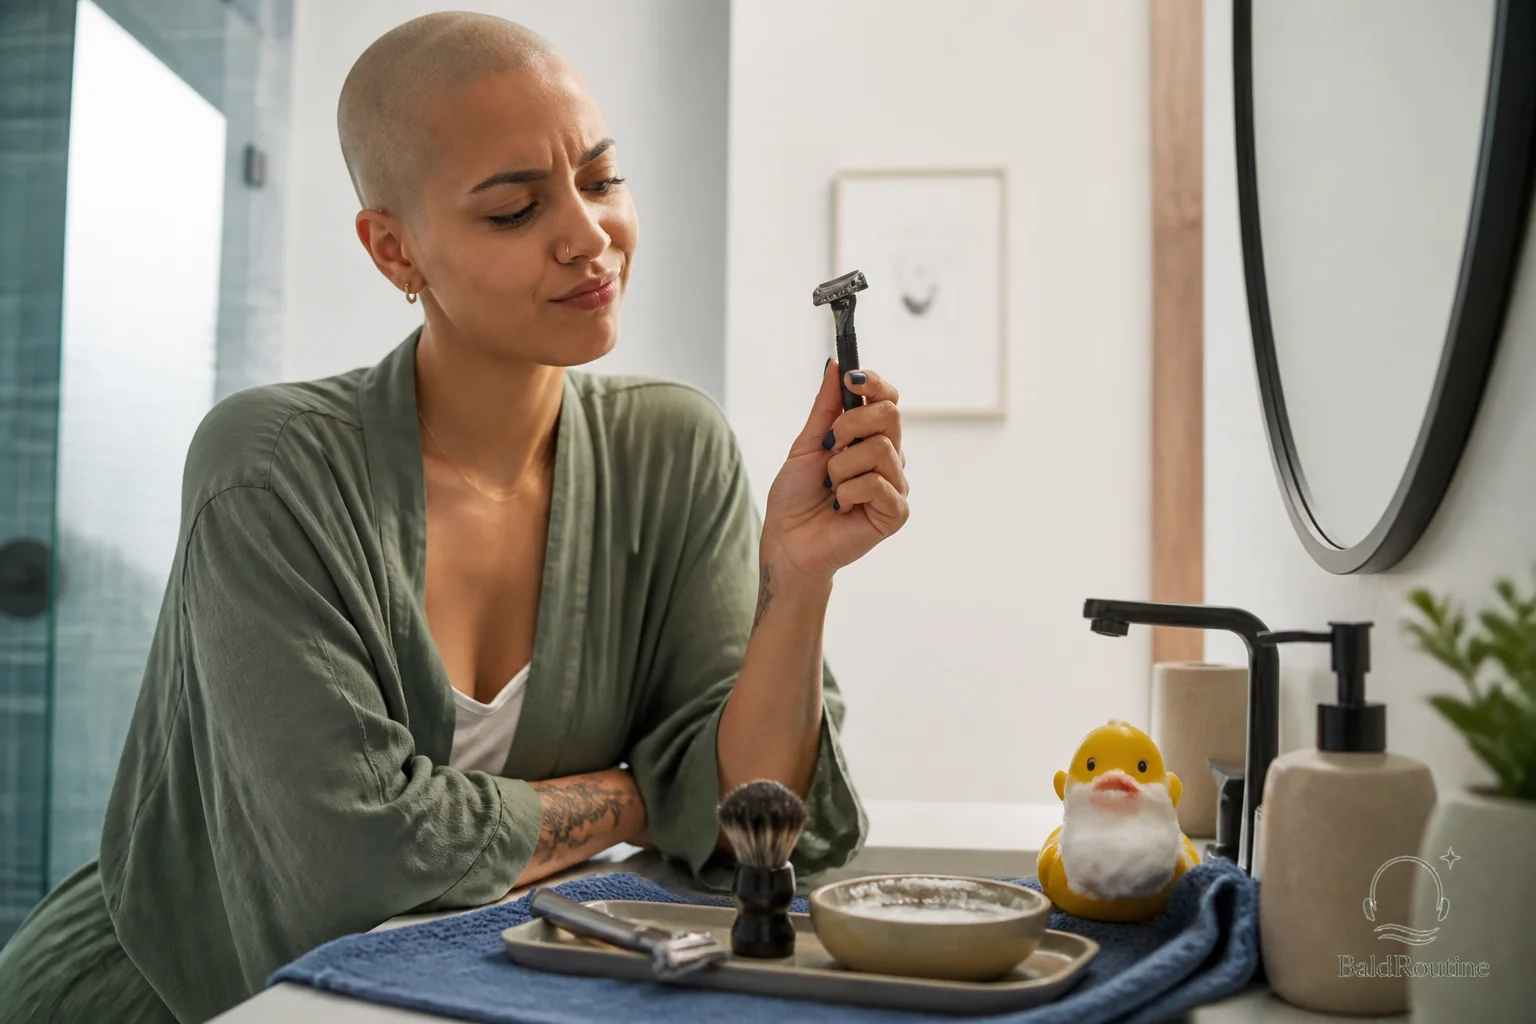
The simple tool cleaning routine for shaving a bald head
Most bald head shaving advice skips the boring part: cleaning the tool.
That is a mistake. Your razor, electric shaver, trimmer, guards, and mirror are not just accessories. They touch the same scalp you are trying to keep calm, smooth, and comfortable. If they are clogged with stubble, dried shave cream, skin flakes, oil, or old product, they stop gliding cleanly.
Then people blame their scalp.
Sometimes the problem is not your scalp. Sometimes your tool is basically trying to shave through yesterday.
This does not need to become a tiny barbershop sanitation ceremony. You just need a repeatable routine that keeps your gear from getting gross and keeps each shave predictable.
Why dirty head shaving tools cause problems
A bald head gives your tools more direct contact than face shaving. There is more surface area, more curves, and usually more passes. That means buildup matters.
A clogged blade or shaver head can:
Drag instead of glide
Miss short hairs
Force you into extra passes
Leave shaved areas feeling tight or scraped
Make the back of the head harder to finish evenly
Shorten the life of the tool
Electric shavers have another issue. Cut hairs collect inside the head. If you never clear them out, the cutter has to work through debris before it gets to the hair. That is not efficient. It is also the grooming equivalent of refusing to empty the vacuum because it still technically turns on.
Wet razors have their own version. Shave cream and stubble pack between blades. If you rinse poorly, the razor starts skipping and tugging. More pressure usually follows. That is where a lot of bad shaves begin.
If your scalp often feels tight after shaving, tool condition is only one possible cause. This guide on 5 things that make a bald head feel tight after shaving is a good companion read.
The quick clean before you shave
Before shaving, give the tool a 20 second check. Not a full inspection under museum lighting. Just enough to catch the obvious stuff.
For a cartridge razor or safety razor:
Rinse the blade under warm running water.
Look between the blades or along the safety razor edge.
Tap gently to loosen trapped hair. Do not smash the razor against the sink.
If buildup does not rinse away, use a soft toothbrush kept only for grooming tools.
Check that the blade is seated correctly.
For an electric head shaver:
Pop open or remove the shaving head if your model allows it.
Empty loose stubble into the trash.
Brush out the cutting area with the small brush that came with it, or a clean soft brush.
Check that the head snaps back in place cleanly.
If it is waterproof and the manual says rinsing is allowed, rinse as directed.
The manual matters here. Some electric shavers are rinse friendly. Some are not. Guessing with water and electronics is a bold little way to buy the same tool twice.
Clean during the shave too
Tool cleaning is not only an after shave job. Rinse or clear the tool while you shave.
With a wet razor, rinse every short stroke or two. Bald head shaving creates a lot of stubble fast, especially if you shave every few days instead of daily. Waiting until the razor is packed full makes each pass rougher.
With an electric shaver, pause if the head starts feeling less efficient. Brush or tap out loose hair if needed. Some shavers handle longer growth poorly, so if you are shaving after several days, a quick trim first can make the shaver work less like a lawn mower in wet grass.
This is where people overdo it. They buy more tools when they really need to clean the one they already own.
The after shave clean that takes one minute
After shaving, clean the tool before you wipe down the sink and walk away. Once shaving cream dries, it becomes more annoying to remove.
For wet razors:
Rinse thoroughly from both sides.
Shake off excess water.
Pat the handle dry with a towel.
Store it somewhere it can air out.
Do not leave it face down in a puddle.
For safety razors, loosen the head slightly so trapped water can escape, if your razor design allows it. You do not need to disassemble the whole thing every single time, but you should not let old stubble live under the blade for a week either.
For electric shavers:
Empty the hair chamber.
Brush the cutter area gently.
Rinse only if the device instructions allow it.
Let parts dry fully before closing or storing.
Charge it somewhere dry, not next to sink splash.
If your routine includes shaving most days, tool care matters even more because tiny problems repeat quickly. For a broader routine, read Daily head shaving without wrecking your scalp.
Do not ignore your mirror and towel
The blade gets all the blame, but the supporting cast can be dirty too.
A foggy, spotted mirror makes you miss areas. Then you go back later and do random dry touch ups, which is rarely kind to your scalp.
Wipe your mirror regularly. If you use a shower mirror, rinse soap film off after use. A clear view helps you use fewer corrective passes.
Your towel matters too. Use a clean towel to pat your head dry after shaving. If a towel smells stale, feels stiff, or has been hanging there for too many shaves, retire it to floor duty. Your freshly shaved scalp does not need yesterday’s gym towel energy.
Common tool cleaning mistakes
A few habits make cleaning less useful than it should be.
Leaving the razor in the shower
The shower is convenient, but it is also humid. Constant moisture can make blades dull faster and leave handles grimy. If you shave in the shower, store the razor somewhere it can dry well.
Brushing blades aggressively
Do not scrub a razor blade like a grill grate. You can nick the edge, shift the blade, or cut yourself. Gentle rinsing and light brushing are enough.
Closing a wet electric shaver immediately
If you rinse electric shaver parts, let them dry before closing everything up. Trapped moisture plus trapped hair is a bad little apartment for grime.
Using one brush for everything
Keep a small brush only for grooming tools. Do not use the same brush you use for cleaning the sink, shoes, or whatever else lives under there. Low bar, worth clearing.
Keeping blades too long
Cleaning helps, but it does not make a worn blade new again. If the shave keeps dragging after cleaning, the edge or cutter may be past its useful life.
Simple checklist for cleaner shaving tools
Use this as the no drama version:
Check the razor or shaver before shaving
Clear visible stubble and dried product
Rinse wet razors often during the shave
Empty electric shaver hair chambers after use
Follow the device manual before rinsing electronics
Let tools dry before storing them
Keep razors out of standing water
Wipe your mirror so you are not shaving blind
Use a clean towel after shaving
Replace blades or cutters when cleaning no longer improves the feel
A cleaner tool makes the whole routine easier
You do not need a drawer full of grooming hardware. You need the tools you already use to stay clean enough to do their job.
A bald head shave has a lot of repeated contact. When the tool is clogged, dull, wet, or packed with old product, your scalp pays for it through drag, missed spots, and extra passes.
Clean before the shave. Rinse or clear during the shave. Dry and store properly after the shave. That simple rhythm keeps your routine less annoying and your tools from becoming the weakest part of it.
If you want a simple routine built around your shave frequency and scalp feel, start with BaldRoutine.
Interest list
Want a product checklist?
Save a simple bald scalp care checklist and occasional practical tips. No routine is locked behind email.
Keep reading
Related guide
Stop adding products to a dry bald scalp
If your bald scalp feels dry after shaving, another bottle is not always the fix. Start with rinse, pressure, timing, and one boring moisturizer.
Related guide
Flaky bald scalp after shaving? try this simpler routine
A flaky bald scalp after shaving does not automatically mean you need a shelf full of scalp products. Start with a calmer shave, a better rinse, and moisturizer at the right time.
Related guide
Stop waiting until your bald scalp feels dry to moisturize
If your bald scalp feels fine after shaving but dry later, your timing may be the problem. A simple moisture step works better before your scalp feels tight.