

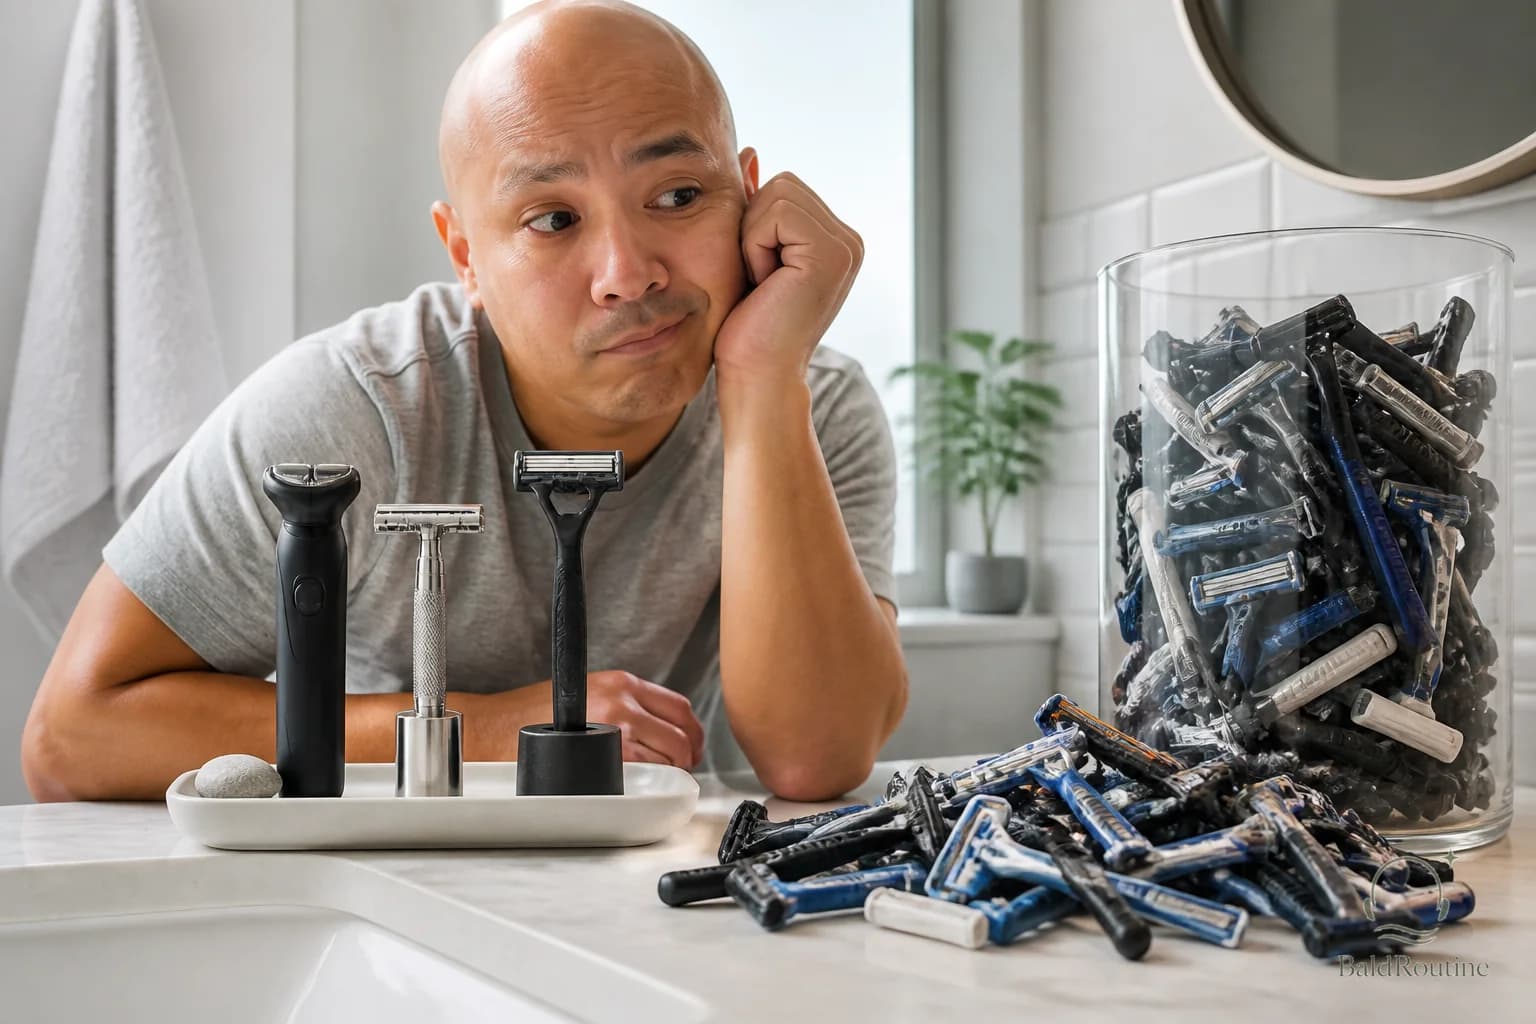
The bald head shaving tool upgrade path that avoids clutter
A bald head routine can get weirdly crowded fast.
One week you buy a razor. Then a head shaver. Then a trimmer. Then a brush. Then some tiny cleaning tool you swear you will use every day. Suddenly your sink looks like a gadget drawer with running water.
More tools are not always the problem. Random tools are.
The better move is to upgrade in order. Start with the tool that solves the biggest problem in your routine, then add only when something is actually slowing you down, irritating your scalp, or making the shave harder than it needs to be.
This is a simple bald head shaving tool upgrade path. Not a shopping list. Not a shrine to gear. Just a way to avoid buying your way into a more annoying routine. It avoids clutter by making every upgrade prove its job first.
Start with the job you need the tool to do
Before picking a tool, get clear on the job.
Most bald head shaving tools solve one of four problems:
Getting close enough
Moving faster
Reducing irritation from repeated passes
Keeping the routine easy to repeat
A tool that solves one problem can make another one worse.
A manual razor can give a very close shave, but it may take more focus and prep. An electric head shaver can be faster, but it may not feel as close. A trimmer can handle longer growth, but it will not give a smooth shaved finish by itself.
That tradeoff is normal. The mistake is expecting one tool to do everything perfectly.
If you want a deeper breakdown of buying only what earns its space, read Stop buying head shaving tools you do not need.
Level 1: use one reliable main shaving tool
Your first real upgrade is not adding more tools. It is choosing one main tool and learning it well.
That can be:
A cartridge razor
A safety razor
An electric head shaver
A foil shaver
A rotary shaver
Pick based on your routine, not someone else's sink setup.
If you shave in the shower and like a close finish, a razor may make sense. If you shave often and want less mess, an electric shaver may be easier to keep up with. If your scalp gets annoyed when you chase perfect smoothness, a slightly less close electric shave may be the better daily compromise.
A reliable main tool should feel predictable. You should not have to press hard, repeat the same patch forever, or brace yourself every time you shave the back of your head.
If the tool only works when you use pressure, extra passes, and hope, it is not really working.
Level 2: add a trimmer if you let growth go longer
A trimmer is not always necessary. It becomes useful when you do not shave daily or every other day.
Longer stubble can clog razors and make electric shavers drag. That is where a trimmer earns its spot. It knocks growth down before the close shave, which can make the whole job feel less forced.
You probably need a trimmer if:
You shave once or twice a week
Your razor tugs when growth is longer
Your electric shaver struggles after a few days
You keep doing too many passes to clear the same area
The trimmer does not need to be fancy. It needs to be easy to hold, easy to clean, and strong enough to cut down growth without pulling.
Skip the trimmer if you shave often and your main tool handles your normal stubble without drama.
Level 3: upgrade visibility before buying another blade
People love buying cutting tools and ignoring visibility.
That is how you end up missing patches behind the ears, overworking the crown, and shaving the same strip three times because you cannot see what is happening.
Before buying another razor or shaver, fix the setup around the tool.
That could mean:
Better bathroom lighting
A shower mirror
A handheld mirror for checking the back
A towel within reach so your hands stay dry
A clear spot to place tools instead of balancing them on the sink edge
Visibility is not exciting. It also prevents a lot of nonsense.
If your actual problem is missed spots or awkward angles, a new shaver may not fix it. Seeing your scalp better might.
Level 4: consider a second shaving tool only for a real gap
A second shaving tool can make sense. It just needs a reason.
Good reasons include:
You want a faster weekday shave and a closer weekend shave
You need something easier for travel
You want a backup when blades or shaver heads need replacing
Your scalp handles one tool better in certain areas
Bad reasons include:
A video made it look effortless
It has more blades
It has a charging dock that looks expensive
You are hoping a new gadget will fix rushed technique
A common setup is an electric shaver for quick maintenance and a razor when you want the closest finish. Another is a trimmer plus razor if you let growth build up between shaves.
That is fine. Just do not build a five tool routine when two tools would do the job.
For a broader buying breakdown, see The head shaver buying guide for a bald head.
Common tool upgrade mistakes
The first mistake is upgrading too early.
If you have only used a tool twice, you probably do not know whether it is bad or whether your routine needs adjusting. Give yourself enough shaves to learn the angle, pressure, and prep.
The second mistake is buying for closeness only.
A close shave is nice. A scalp that feels scraped for the rest of the day is not. The right tool is the one you can use consistently without turning shaving into a negotiation.
The third mistake is ignoring replacement parts.
Blades dull. Shaver heads wear down. Foils can get damaged. A tool that was great at first can feel rough later because the cutting surface is past its prime.
The fourth mistake is keeping tools you never use.
If a tool sits there for months because it is awkward, slow, or annoying to clean, it is not part of your routine. It is bathroom clutter with a charging cable.
A simple head shaving tool checklist
Use this before buying the next thing:
Does my current tool actually fail at something specific?
Is the issue closeness, speed, irritation, visibility, or longer growth?
Have I tried lighter pressure and fewer repeat passes?
Are my blades or shaver heads still in good shape?
Would a trimmer solve the problem better than another close shave tool?
Would a mirror or better setup solve the problem instead?
Will I clean and store this tool without making the routine annoying?
Does this tool replace something or just add clutter?
If you cannot answer those, wait.
Waiting is underrated. It saves money, space, and the slow creep toward a routine you no longer want to do.
Keep the routine easy enough to repeat
A good bald head shaving setup does not need to look impressive. It needs to work on a normal morning when you are half awake and not interested in a 12 step production.
Start with one reliable main tool. Add a trimmer if longer growth is causing trouble. Improve visibility before blaming the blade. Add a second shaving tool only when it solves a clear gap and avoids making the routine harder to repeat.
That is the upgrade path.
Not more stuff. Better reasons.
If you want a simpler way to think through your bald scalp routine, start with BaldRoutine here: https://baldroutine.com/?utm_source=mdx.
Interest list
Want a product checklist?
Save a simple bald scalp care checklist and occasional practical tips. No routine is locked behind email.
Keep reading
Related guide
A simple reset for a rough bald scalp after shaving
If your shaved head feels rough instead of clean and comfortable you probably do not need a bigger product lineup. Start with pressure rinse and a calmer post shave routine.
Related guide
The pre-shave mistake that leaves your bald scalp dry
If your scalp feels dry after every head shave, the problem may start before the blade. Fix the prep before you add another bottle.
Related guide
The washing mistake that keeps your bald scalp dry
If your shaved head feels dry right after you clean it you may be scrubbing off more than stubble. A simple wash routine can keep your scalp comfortable without adding five bottles to the shelf.